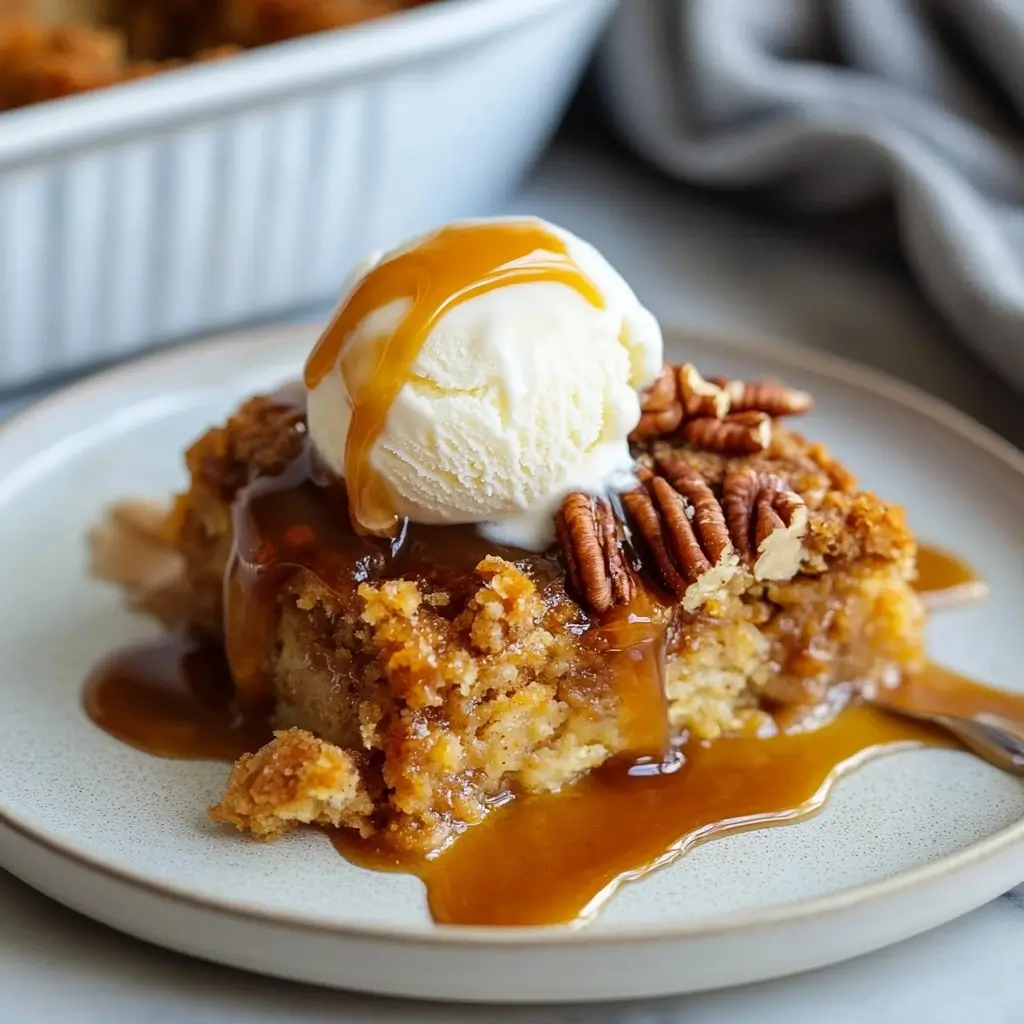
Gluten free pumpkin dump cake is the kind of cozy, no-fuss dessert that feels like a warm hug on a crisp fall day. It’s simple to make, full of spiced pumpkin flavor, and best of all—completely gluten-free. Whether you’re new to gluten-free baking or just need an easy treat that feeds a crowd, this cake delivers the flavor of the season without the usual complications.
In this guide, I’ll share how I discovered this recipe, the tricks I use to make it moist and delicious, and step-by-step tips to make sure yours turns out just right. Ready to make a cake that smells like autumn and tastes even better? Let’s get started.
My Gluten-Free Pumpkin Dump Cake Journey
The moment it clicked fall baking and celiac life collide
The first time I made a gluten free pumpkin dump cake, I had no idea it would become one of our fall favorites. It was a cool October afternoon in Asheville, and I was craving something warm, sweet, and simple. Ellie, my daughter, had recently been diagnosed with celiac disease, so I was still figuring out how to make desserts feel like dessert again , without the gluten.
I had a can of pumpkin, some spices, and a gluten-free yellow cake mix in the pantry. That’s when I remembered dump cake: no mixer, no layers, just a “dump it all in” method. I layered pumpkin with sugar, cinnamon, nutmeg, then topped it with the cake mix and melted butter. When I pulled the cake out of the oven, it was golden, bubbling, and smelled like everything I missed about fall baking. Ellie took a bite and smiled. That moment? Pure gold.
Why dump cakes make gluten-free baking joyful, not stressful
What makes a gluten free pumpkin dump cake so special is how low-stress it is. No whipping, folding, or worrying about structure. The pumpkin keeps the cake naturally moist, while the dump cake method avoids the pitfalls of complicated gluten-free techniques. It’s ideal for busy days, holidays, or any time you want something sweet without the work.
Print
Gluten free pumpkin dump cake
- Total Time: 1 hour
- Yield: 12 servings 1x
Description
This gluten free pumpkin dump cake is an easy, crowd-pleasing fall dessert. Moist, spiced pumpkin on the bottom, golden cake topping on top , just dump, bake, and serve.
Ingredients
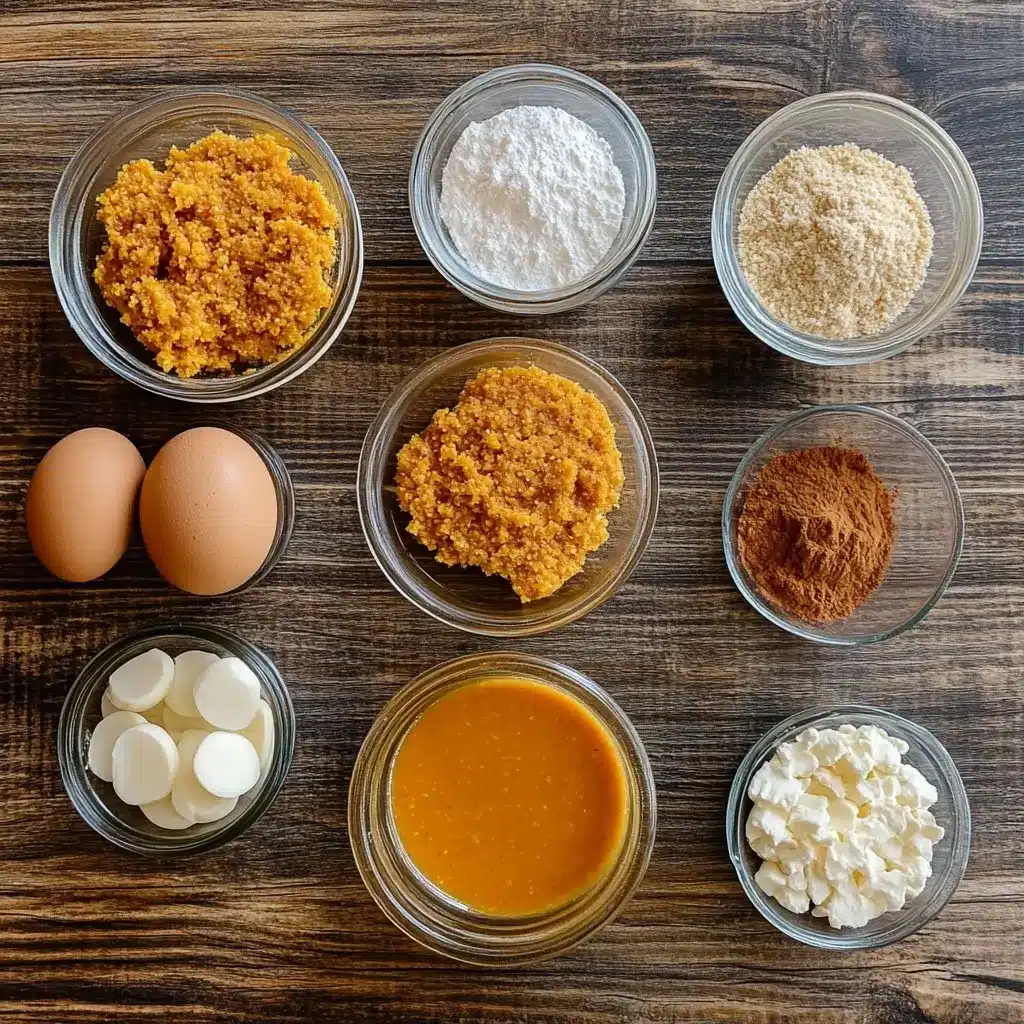
1 (15 oz) can pumpkin puree
1/2 cup brown sugar
1/2 cup granulated sugar
2 large eggs
2 tsp cinnamon
1/2 tsp nutmeg
1/2 tsp ginger
1/4 tsp cloves
1 tsp vanilla extract
1 box gluten-free yellow cake mix
1/2 cup melted butter
Optional: 1/2 cup chopped pecans or white chocolate chips
Instructions
1. Preheat oven to 350°F and grease a 9×13 baking dish.
2. In a bowl, mix pumpkin, sugars, eggs, spices, and vanilla. Pour into baking dish.
3. Sprinkle dry gluten-free cake mix evenly over pumpkin layer. Do not mix.
4. Drizzle melted butter over the dry cake mix.
5. Optional: Add pecans or white chocolate chips over top.
6. Bake for 45–50 minutes or until top is golden and edges are bubbling.
7. Let cool 15 minutes before serving.
Notes
Use canned pumpkin puree , not pumpkin pie filling for best results.
Refrigerate leftovers and reheat in the microwave or oven.
Customize with chopped nuts, caramel drizzle, or cream cheese swirls.
- Prep Time: 10 minutes
- Cook Time: 50 minutes
- Category: Dessert
- Method: Baking
- Cuisine: American
Nutrition
- Serving Size: 1 slice
- Calories: 310
- Sugar: 24g
- Sodium: 270mg
- Fat: 15g
- Saturated Fat: 9g
- Unsaturated Fat: 5g
- Trans Fat: 0g
- Carbohydrates: 38g
- Fiber: 2g
- Protein: 3g
- Cholesterol: 60mg
Keywords: gluten free pumpkin dump cake, fall dessert, gluten-free dump cake
What Makes a Gluten Free Pumpkin Dump Cake Work
Choosing the right gluten-free flours and pumpkin combo
To get the best results with any gluten free pumpkin dump cake, it starts with understanding your ingredients especially the flours. Not all gluten-free cake mixes are created equal. You want one that includes a balanced blend of rice flour, starches like tapioca or potato, and a binder like xanthan gum or psyllium husk. These mimic the structure gluten normally provides and help your cake hold together beautifully.
Pair that solid flour base with canned pumpkin puree ,not pumpkin pie filling. Pure pumpkin gives your dump cake its moisture, earthy sweetness, and that unmistakable autumn flavor. Combined with warm spices like cinnamon, nutmeg, ginger, and clove, the pumpkin acts as both a flavor booster and a moisture anchor. That’s key in gluten-free baking, which can turn dry or gritty if you’re not careful.
For an added depth of flavor, I like to stir a bit of brown sugar and a dash of vanilla extract into the pumpkin layer before topping it with cake mix. It’s those little extras that make a gluten free pumpkin dump cake taste like something special, not just “special diet.”
Simple pantry swaps: how to nail texture without wheat
Moisture and texture are the make-or-break points in any gluten-free dessert. Fortunately, dump cakes make it easy to get both right. The pumpkin layer provides a wet base, and the butter poured over the cake mix creates a golden, crunchy top , no mixing bowl required. Just layer and bake.
Step-by-Step: Making Gluten Free Pumpkin Dump Cake
Layering order and how dump cakes actually work
The beauty of a gluten free pumpkin dump cake is in its simplicity. There’s no creaming, whisking, or folding. You’re not building a batter , you’re building layers that magically bake into a tender, spiced dessert with a golden top. Here’s how the layering works:
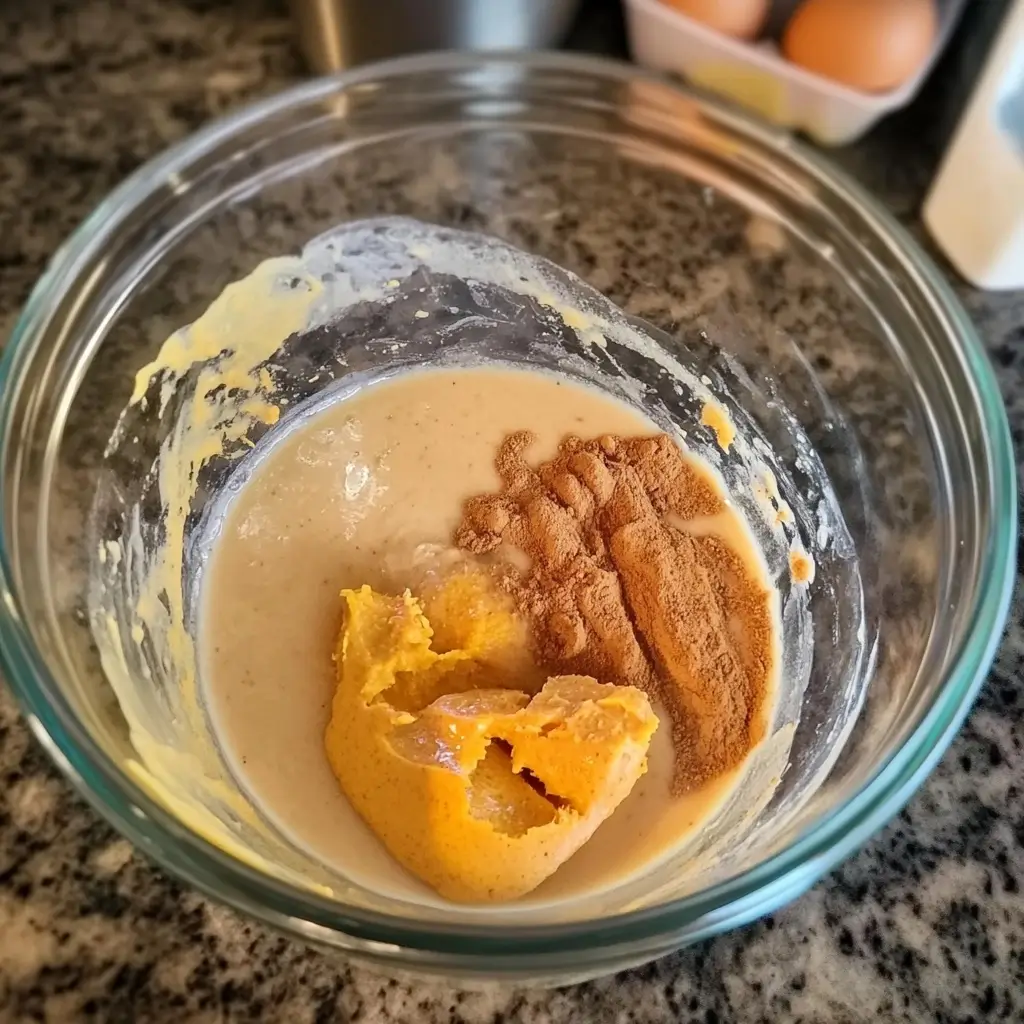
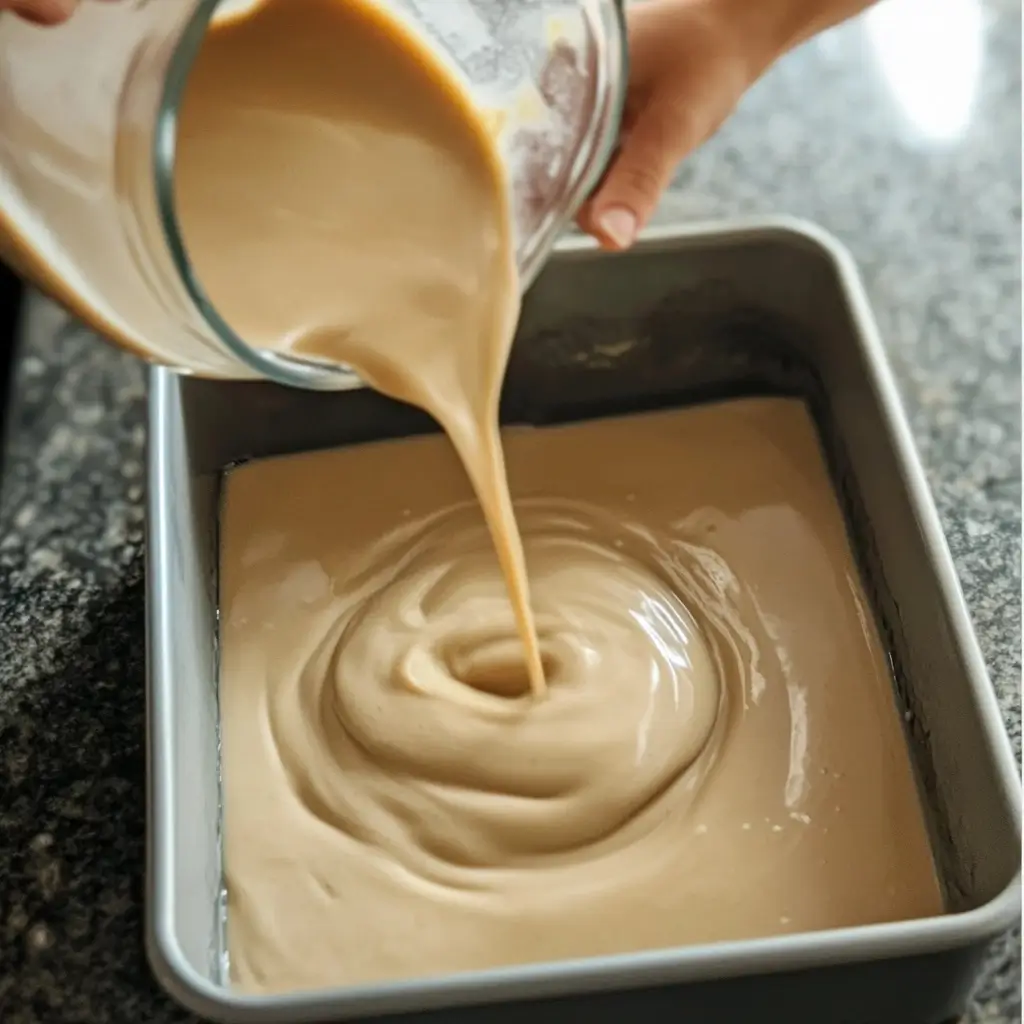
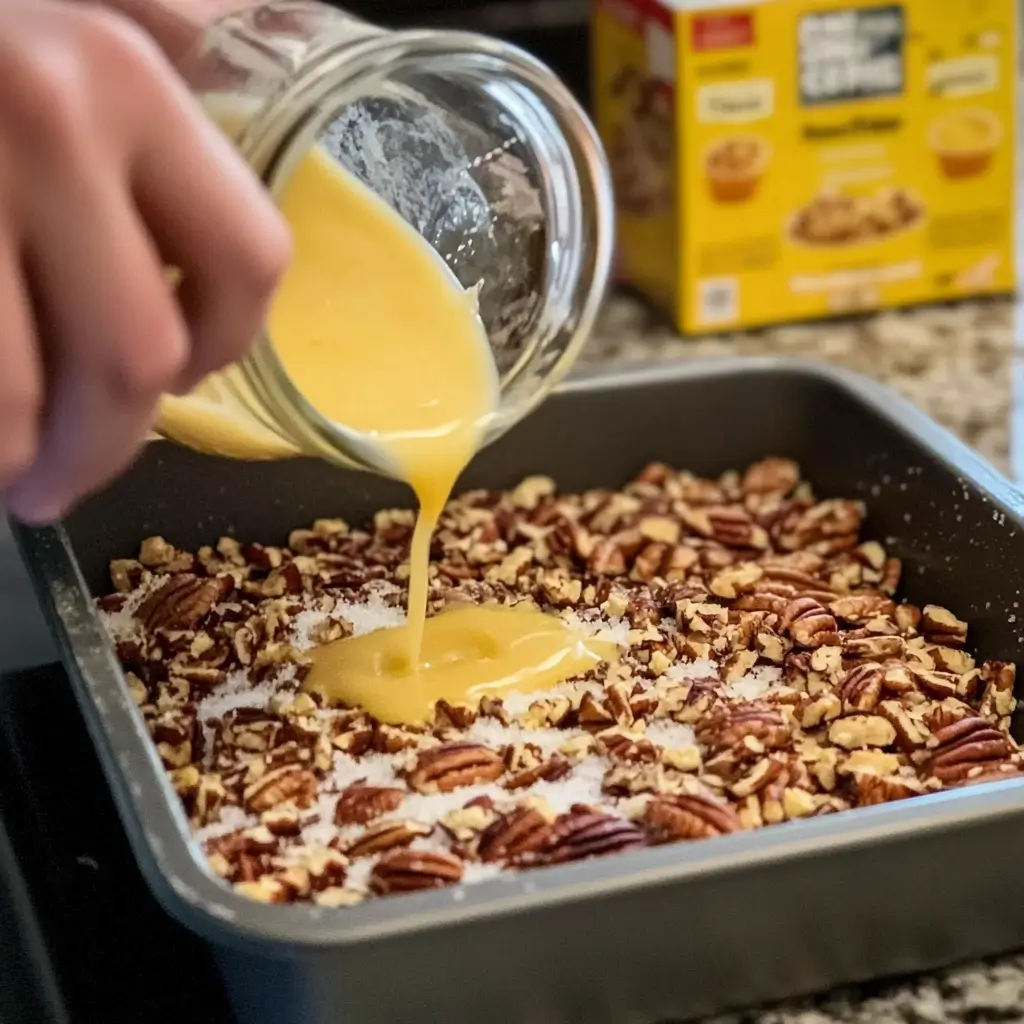
Start with your base: a mix of pumpkin puree, eggs, sugar, and spices. Spread that evenly in your greased baking dish. Next comes the dry gluten-free cake mix. Sprinkle it gently over the pumpkin layer without mixing it in. You want that cake mix to sit right on top. Finally, pour melted butter over the dry mix. The butter seeps through, creating a crisp topping and moist interior.
This layering method is why dump cake works so well without gluten. Because there’s no gluten to trap air or create structure, the layers bake into each other in a way that’s forgiving, soft, and incredibly satisfying. With the pumpkin acting as your moisture and flavor base, your gluten free pumpkin dump cake bakes up just right , no special equipment or skills needed.
Baking tips to avoid a soggy or dry bottom
To make sure your gluten free pumpkin dump cake bakes evenly, here are a few easy tips. First, always use a 9×13 pan. It gives the layers enough space to bake through without getting gummy. Second, don’t stir the layers. Dump cakes aren’t meant to be blended; the layering is what makes the texture unique.
Bake at 350°F for about 45–50 minutes. You’ll know it’s ready when the edges are bubbling, the top is golden, and a toothpick inserted into the center comes out clean , or with just a bit of pumpkin clinging to it. Let the cake cool slightly before serving to help the layers set.
Prefer the original version ? Here’s my classic gluten free dump cake recipe you’ll love .
Serving, Storing, and Making It Yours
Toppings and mix-ins that take it up a notch
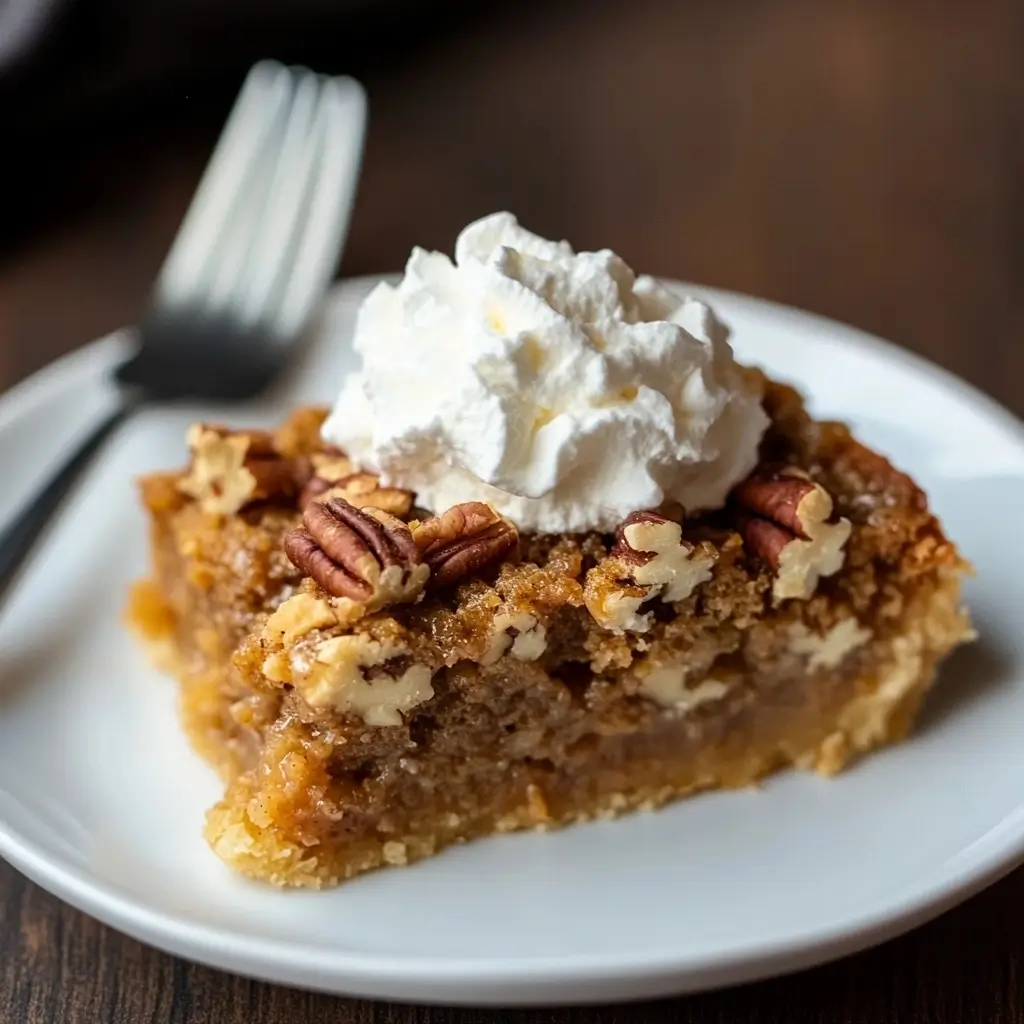
Once your gluten free pumpkin dump cake is out of the oven, the fun really begins. You can serve it warm, room temp, or even chilled it holds up beautifully either way. For a classic finish, top it with whipped cream or vanilla ice cream. But if you want to add a little flair, drizzle with caramel sauce or dust with powdered sugar right before serving.
Want texture? Add chopped pecans or walnuts to the cake mix layer before baking. Craving richness? Sprinkle white chocolate chips over the pumpkin before adding the cake mix. You can even swirl in dairy-free cream cheese for a cheesecake twist. The flexibility is one of the reasons I keep coming back to this gluten free pumpkin dump cake every fall , it adapts to whatever I have on hand and whatever mood I’m in.
And let’s not forget the spices. If you’re after bold flavor, bump up the cinnamon or add a pinch of cardamom or cloves.
How to store, reheat, and even freeze it
One of the best things about gluten free pumpkin dump cake is that it stores really well. Once fully cooled, cover it tightly and refrigerate for up to five days. Reheat individual servings in the microwave for 20–30 seconds, or warm the whole pan in a 300°F oven for 10–15 minutes. It tastes just as good on day three as it does fresh out of the oven.
Need to make it ahead? Bake it, cool it completely, and freeze in an airtight container for up to two months. Thaw in the fridge overnight, then warm and serve. You can even bake and freeze individual portions if you like having single-serve desserts ready to go.
Whether you’re feeding a crowd or just yourself, this gluten free pumpkin dump cake is easy to love and even easier to keep on hand.
Craving more gluten-free baking goodness? Come hang out with me on Facebook and Pinterest for tasty recipes, tips, and inspiration you’ll love!
How long will a gluten-free cake stay fresh?
A gluten-free cake like this gluten free pumpkin dump cake will stay fresh for 4–5 days when stored in an airtight container in the refrigerator. Thanks to the moisture from the pumpkin, it holds up better than many gluten-free cakes. Just make sure to let it cool fully before storing to avoid excess condensation, which can make it soggy.
Does pumpkin dump cake need to be refrigerated?
Yes, refrigerating your gluten free pumpkin dump cake is the best way to keep it safe and fresh. The pumpkin layer is moist and perishable, so once the cake is fully cooled, cover it and store in the fridge. When you’re ready to eat, a quick reheat in the microwave or oven will bring back that fresh-baked feel.
How does gluten-free cake taste?
A good gluten free pumpkin dump cake tastes just as rich and satisfying as a traditional cake. The pumpkin brings moisture and flavor, while a quality gluten-free cake mix provides a soft, tender crumb. With the right flour blend and spices, most people won’t even realize it’s gluten-free—just that it’s delicious.
How to make gluten-free cake more moist?
Pumpkin is your secret weapon for moisture in a gluten-free cake. In this gluten free pumpkin dump cake, the puree acts as a natural tenderizer. You can also add an extra egg or a dollop of sour cream or dairy-free yogurt for even more softness. Avoid overbaking, and always measure your dry ingredients carefully for best texture.

